

Settings
Settings is one small window with five panes: General, Appearance, Filters, Snippets and Privacy. This section describes each pane, switch by switch. Changes apply as you make them. Two things ask first: Snippets, which saves a snippet when you click OK, and turning off internet access.
Open Settings in any of these ways:
- Click the gear at the bottom left of the list.
- Right-click the menu-bar icon and choose Settings….
- Choose Settings… in the app menu while the Dock icon is on.
- Press ⌘, while BundleHound is the active app.
Then click the pane’s name at the top of the window. Settings is always the same window: opening it again brings it forward.
General#
General sets where BundleHound lives on your Mac and whether it starts with it.
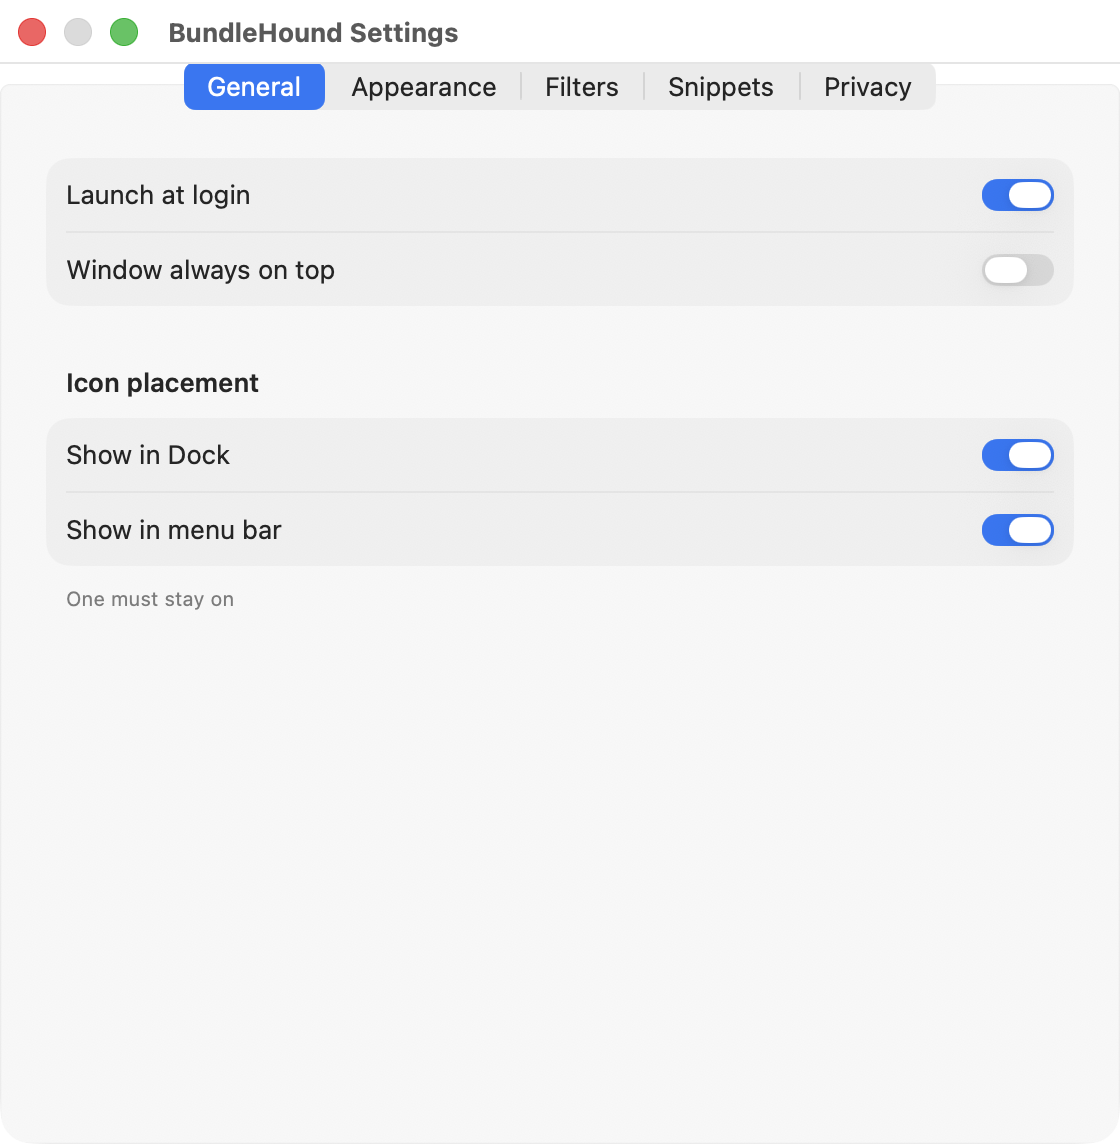
The General pane.
- 1: Launch at login
- 2: Window always on top
- 3: Show in Dock and Show in menu bar
- 4: the note "One must stay on"
- Launch at login 1 starts BundleHound whenever you log in. It registers BundleHound as a macOS login item.
- Window always on top 2 keeps the list above other windows. Settings and the welcome tour then open beside the list, so it does not cover them.
- Show in Dock and Show in menu bar 3 put BundleHound’s icon in the Dock, the menu bar, or both.
One of the two icons always stays on 4. Switch off the last one and the other switches back on.
For how the list opens from each icon, see Where BundleHound lives.
Good to know
- With Show in Dock off, BundleHound is a menu-bar app and has no app menu. About BundleHound, Settings… and Quit BundleHound are in the menu-bar icon’s right-click menu.
- With Show in menu bar off, BundleHound behaves like an ordinary windowed app.
- If macOS refuses the login item, the Launch at login switch goes back and a red line under it reads “Could not update the login item:” followed by the system’s reason.
- Window always on top applies to the list window only, attached or floating.
Appearance#
Appearance sets the theme and the glass behind the list, the active-app highlight, the length of the short list and the extra columns.
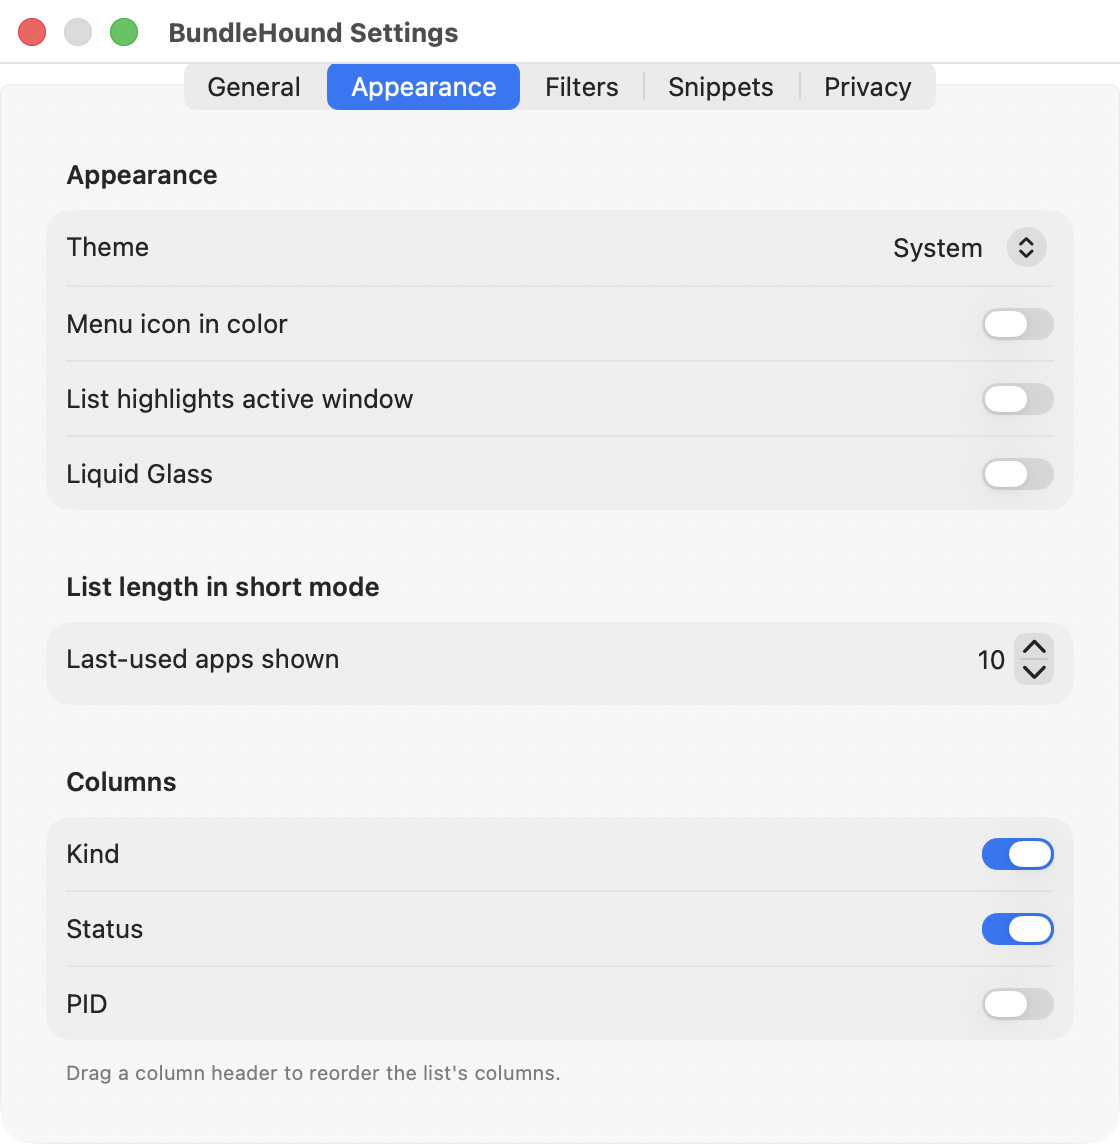
The Appearance pane on macOS 26.
Full size: The Appearance pane on macOS 26.
- 1: Theme
- 2: Menu icon in color
- 3: List highlights active window
- 4: Liquid Glass
- 5: Last-used apps shown
- 6: Columns
- Theme 1: System follows macOS’s light or dark setting as it changes. Light and Dark keep BundleHound in that appearance.
- Menu icon in color 2 draws the menu-bar icon in color instead of monochrome. It is greyed out while Show in menu bar is off.
- List highlights active window 3 marks the app you were in before you opened the list: its name in semibold, its row filled with the system’s highlight color. It needs no permission, and it is off when BundleHound is new.
- Liquid Glass 4 shows the system’s glass behind the list window. It exists on macOS 26 and later.
- Last-used apps shown 5 is the number of rows in the short list: 10 by default, 5 at the least. Type a number, use the stepper, or press ↑ and ↓ in the field.
- Columns 6 switch Kind, Status and PID on or off. Application, Bundle ID and Category always show.
Good to know
- On macOS 15 Sequoia, Liquid Glass is replaced by Translucent window and an Opacity slider. The desktop then shows blurred behind the list, and Opacity sets how much window color covers it, from faint to fully opaque. The slider is greyed out while Translucent window is off.
- The short list is what the list shows while All Rows is off. See Filters.
- Kind and Status are on when BundleHound is new. PID is off.
- The column switches are the same setting as the menu you get by right-clicking a column header. To reorder columns, drag a header in the list. What each column shows: Reading the list.
Filters#
Filters decides which kinds of app the list shows, and which single apps it leaves out.
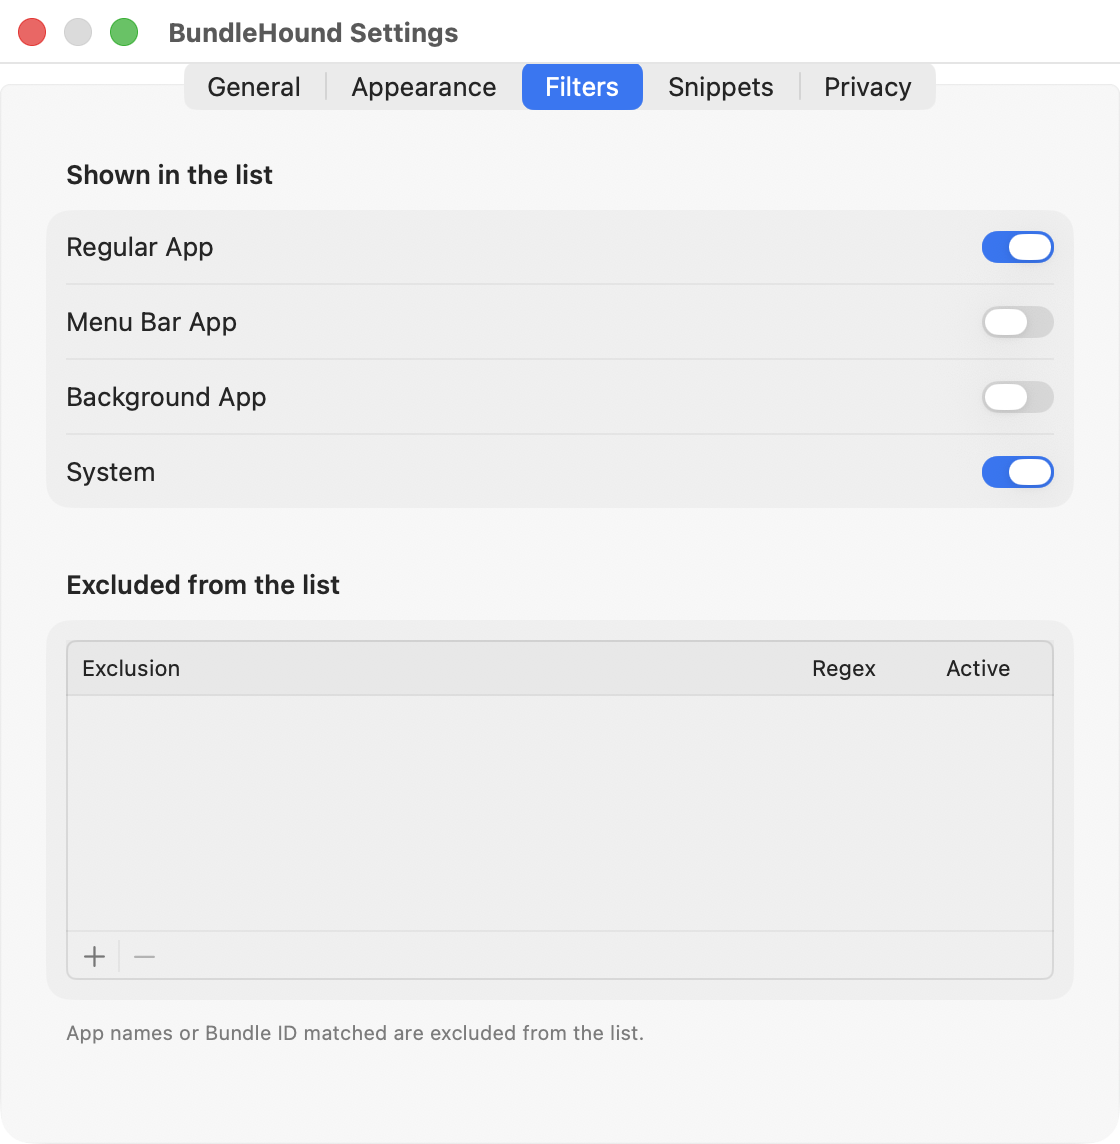
The Filters pane. Regular App and System are on when BundleHound is new.
Full size: The Filters pane. Regular App and System are on when BundleHound is new.
- 1: Shown in the list
- 2: Excluded from the list
- 3: + and − under the table
- Open
Settings ▸ Filters. - Under Shown in the list 1, switch Regular App, Menu Bar App, Background App and System on or off.
- Under Excluded from the list 2, click + (Add an exclusion) 3 to add a rule, and type the text to match in the Exclusion column.
Each exclusion has an Active checkbox, which turns it off without deleting it. To delete one, select it and click − (Remove the selected exclusions). How a rule matches, and how to write a regular expression: Exclusions.
Good to know
- At least one of Regular App, Menu Bar App and Background App stays on. Switching off the last one turns Regular App back on.
- System works across the other three. Off: everything that runs at system level is left out. On: system-level code shows when its own kind is also on. Finder needs Regular App, Control Center needs Menu Bar App, a daemon needs Background App.
- The toolbar’s Every Kind button bypasses Shown in the list while it is on. It never changes these switches.
- A broken regular expression turns its text red, and the Regex column shows a red warning triangle with the reason on hover. A broken rule hides nothing.
- The row menu’s Exclude item adds a rule here, one per app.
Snippets#
Snippets holds your own formats for Copy as Format: lines of text in which {bundleID} stands for the app’s bundle ID. This is the pane in brief; writing a snippet, the templates and the fields are in Snippets.
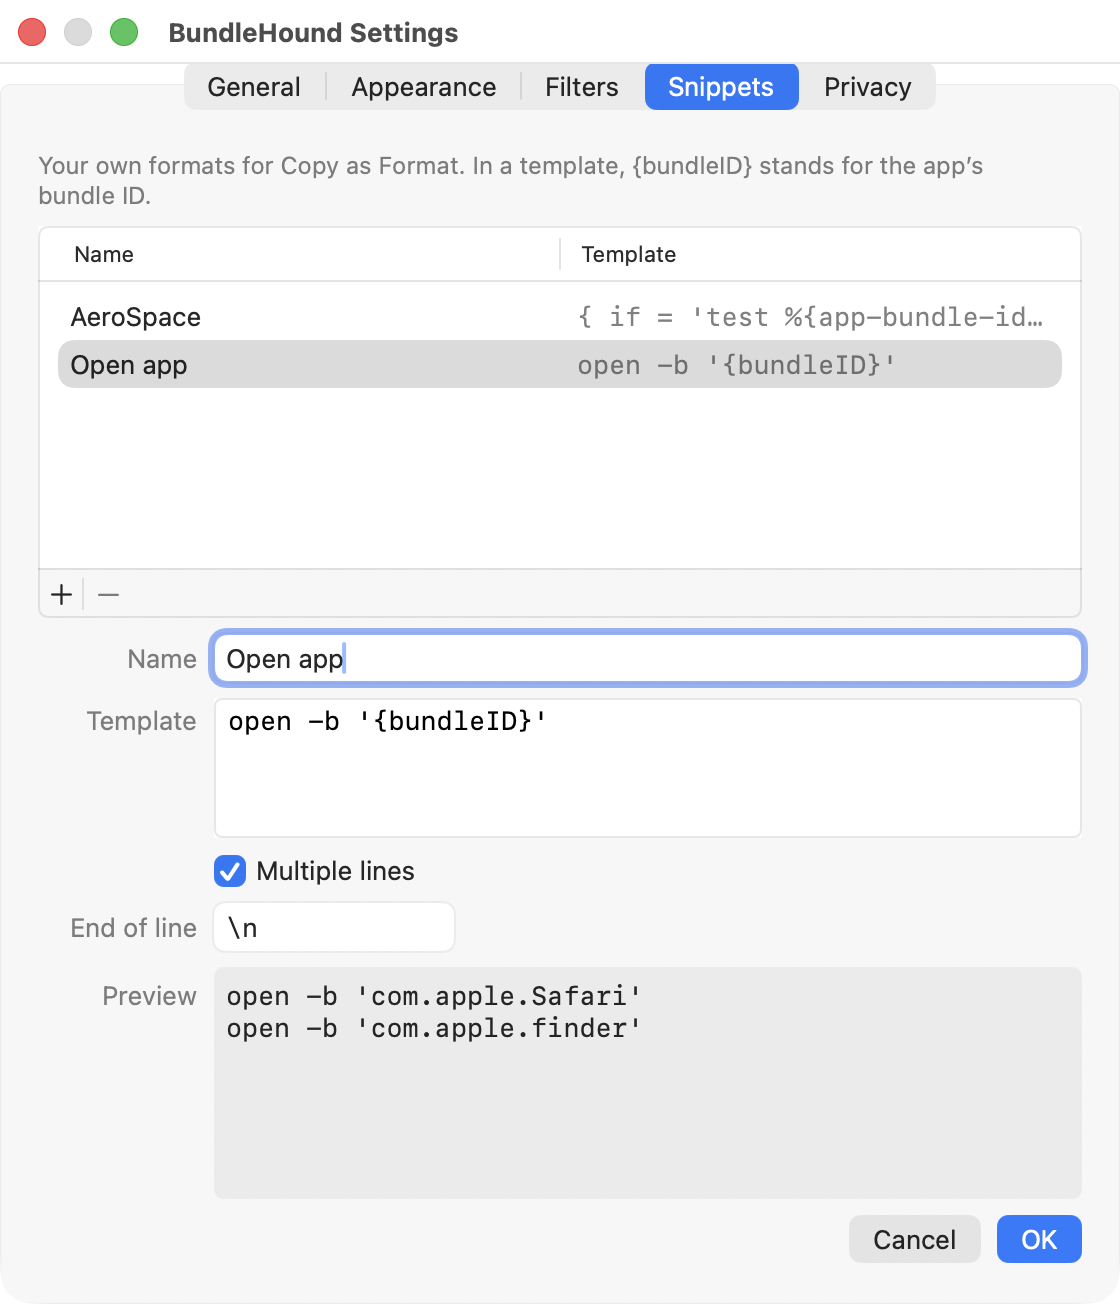
The Snippets pane.
- 1: the table of snippets
- 2: the + button
- 3: Name and Template
- 4: Preview
- 5: Cancel and OK
- Click + (Add a snippet) 2 under the table. Choose Custom Snippet, or a template below it.
- Edit the Name and the Template 3. Check the Preview 4.
- Click OK 5. The snippet now appears under
Copy as Format ▸in the row menu.
Select a snippet in the table to edit it. To remove one, select it and click − (Remove the selected snippet).
Good to know
- Nothing reaches Copy as Format until you click OK. Cancel drops a new snippet, or puts an edited one back as it was. Both are greyed out until something has changed.
- If you leave a changed snippet, BundleHound asks “Save changes to” the snippet’s name, with Save, Don’t Save and Cancel. Leaving means choosing another snippet, adding one, switching pane, closing Settings or quitting BundleHound.
- With no snippet selected, the pane reads “Select a snippet to edit it.”
- The Template box takes several lines: Return adds one. In the Name and End of line fields, Return clicks OK.
- Remove asks nothing: the snippet is gone at once.
Privacy#
Privacy holds one switch, Allow internet access. It is off until you allow it.
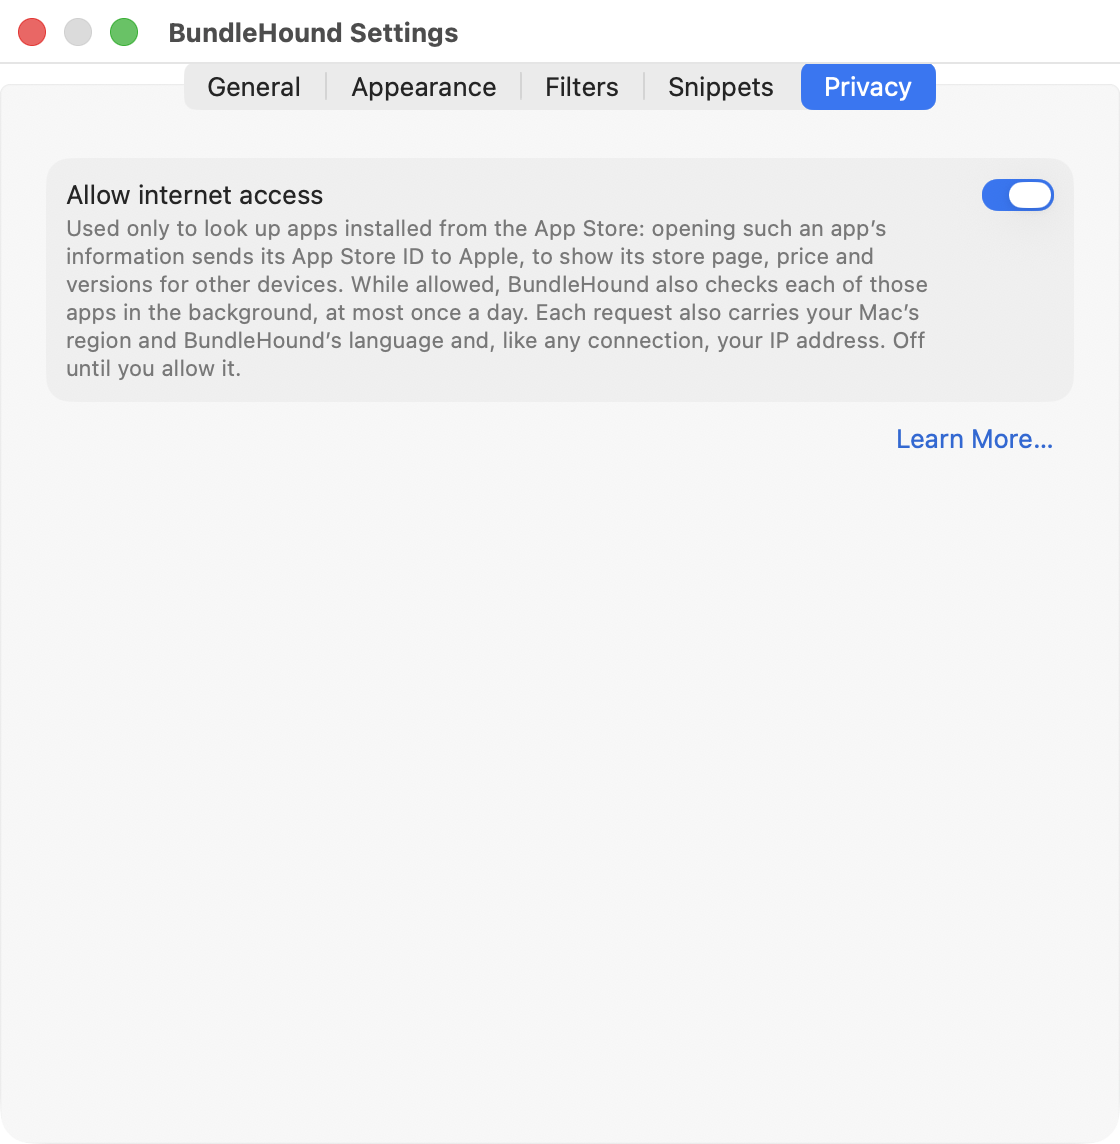
The Privacy pane.
- 1: Allow internet access
- 2: Learn More…
With the switch 1 on, BundleHound asks Apple’s App Store about the apps you installed from it: their App Store ID and developer ID, with your Mac’s country and BundleHound’s language. The answers fill the App Store section of each app’s information page. BundleHound uses the connection for nothing else. What is sent, to whom and when: Internet access. Learn More… 2 opens the same page.
Turning the switch on takes effect at once. Turning it off asks “Turn off internet access?” Turn Off and Delete deletes everything BundleHound fetched from the App Store, and nothing more is sent. Cancel leaves the switch on.
Good to know
- The first-launch question “Connect to the App Store?” sets this same switch: Allow turns it on.
- After you turn it off, the information page shows only what the installed apps themselves provide.